How to Turn a GIF Into a Live Photo on iPhone
Updated August 11, 2026
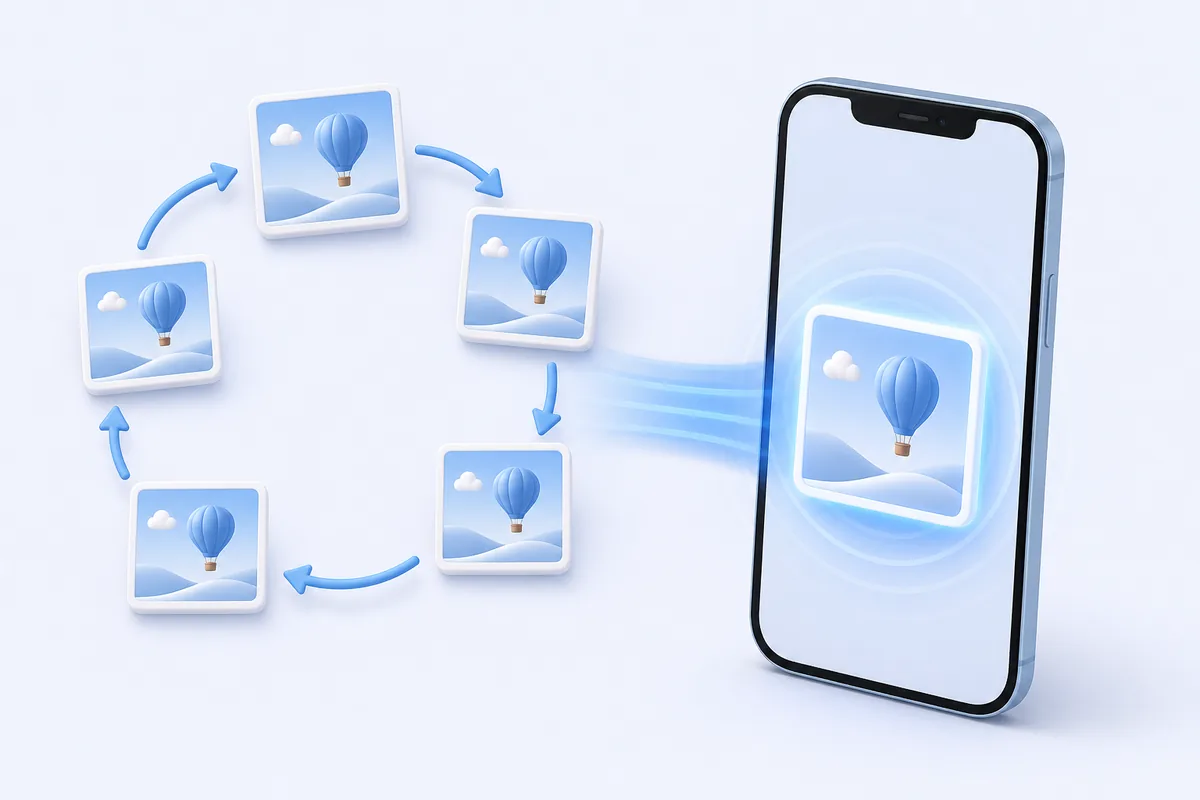
iOS has no button that turns a GIF into a Live Photo, and converter apps — LiveMaker included — read video files, not animated images. So the reliable route is two short steps: save the GIF as a short video, then convert that video into a Live Photo with LiveMaker, a video-to-Live-Photo app for iPhone. The whole thing takes a couple of minutes and never leaves your phone.
Why a GIF can't become a Live Photo directly
The two formats look similar on screen and are built completely differently. A GIF is a single image file that stores a sequence of frames, limited to 256 colours per frame, with no sound. It loops forever and any app that can show an image can show it.
A Live Photo is not one file at all. It's a pair: a full-resolution still photo plus a short video clip of the moment around it, which iOS keeps linked together and plays when you press and hold. That pairing is what lets a Live Photo act as a moving lock-screen wallpaper, and it's why iOS only produces them at capture time, in the Camera app.
Because the video half of that pair is an actual video track, converter apps take video as input. Handing them a GIF is like handing a printer a wall poster — same picture, wrong shape. Turn the animation into a real video first and everything downstream just works.
What you'll need
An iPhone or iPad, the GIF itself (saved in Photos, in Files, or open in a browser tab), and the free LiveMaker app. No computer, no account, and no upload — the conversion runs on your device, so it works in airplane mode.
Step by step
-
Save the GIF as a video file
Pick whichever of these three routes fits where your GIF is coming from.
- Download it as a video in the first place. Many "GIFs" you see online are already video files behind the scenes, and the sites that host them often offer an MP4 or "download video" option next to the GIF one. If you have that choice, take it — it's the highest-quality path and skips conversion entirely.
- Convert it in the Shortcuts app. Open Shortcuts, create a new shortcut, and add the Encode Media action, which turns media you pass in into a video file, then add Save to Photo Album. Run it from the share sheet with your GIF selected. If your GIF is a still image as far as the action is concerned, use the next route instead.
- Screen-record it. This one always works. Add Screen Recording to Control Centre (Settings → Control Centre), open the GIF so it plays as large as possible, start the recording, let it loop once or twice, then stop. You'll get an MP4-style video in Photos, which you can trim before or during the next step.
-
Convert the video into a Live Photo
Open LiveMaker and choose the video you just made from Photos or Files. Drag the timeline handles to trim it down to the section you actually want — for a looping GIF, one clean pass of the animation is usually better than three. Then move the marker to pick the still key frame: this is the frame people see before the motion plays, so choose a sharp, readable moment rather than a blurry in-between one.
If you plan to use the result as a wallpaper, crop it to a vertical shape now — most GIFs are wide, and a wide frame on a tall screen gets cut off badly. Choose whether to keep audio (GIFs have none, but a screen recording may have picked up sound), then tap Convert & Save.
-
Check it in Photos
Open the newest item in your camera roll. It should carry the Live badge in the corner; press and hold and it plays. From here you can send it to someone as a Live Photo, or go to Settings → Wallpaper → Add New Wallpaper → Photos and use it on your lock screen.
Which route should you use?
If the animation exists as an MP4 anywhere, use that file — you keep every bit of quality the original had. The Shortcuts route is the fastest for GIFs already sitting in your photo library and keeps the frames intact, but the exact actions available shift between iOS versions, so treat it as the convenient option rather than the dependable one. Screen recording is the fallback that never fails: it re-records the animation as it appears on your screen, which costs a little sharpness but works with any GIF, from any app, including ones you can't save or export.
Getting a good result from a low-resolution GIF
Most GIFs on the web are small — a few hundred pixels wide — and heavily compressed, while a Live Photo is meant to be viewed at full phone-screen size. A few habits keep the result from looking mushy:
- Start from the largest version you can find. If the same animation exists as a bigger file or as an MP4, that one will look considerably better blown up.
- Screen-record with the GIF as large as possible. Full screen in a browser tab beats a thumbnail in a chat window — the recording captures exactly the pixels shown.
- Keep it short. A Live Photo is a moment, not a film. One or two seconds of the animation reads better than a long loop.
- Pick the key frame deliberately. In a cartoon-style GIF the frames vary wildly; pick one where the subject is complete and legible on its own.
- Don't expect sound. GIFs never carry audio, so the resulting Live Photo is silent unless your screen recording captured something else playing.
How LiveMaker fits in — and what it doesn't do
LiveMaker does one job: it turns a video into a Live Photo, with trimming, key-frame selection, cropping, and an audio on/off choice. Everything happens on your iPhone — nothing is uploaded to a server, which is the practical difference between an app and a browser-based converter site, and it means the conversion works offline.
What it doesn't do matters just as much here. LiveMaker does not import GIF files directly, which is exactly why step 1 above exists — you bring it a video, it gives you a Live Photo. It doesn't download anything from the web for you, it isn't a video editor (no filters, captions, or multi-clip timelines), and it can't set your wallpaper for you, because iOS reserves that for Settings. There is no Android version and no web version: Live Photos are an Apple format and LiveMaker is an iPhone/iPad app. It's free to use, with a small watermark on free exports that a one-time $3.99 LiveMaker Pro purchase removes. No subscription.
Troubleshooting
The Live Photo looks blocky or blurry
That's the source GIF showing through. A Live Photo can't add detail that was never recorded, and web GIFs are usually small and colour-reduced. Find a larger copy of the animation, or re-record it at full screen size, and convert again.
Shortcuts won't convert my GIF
Available actions and the formats they accept change between iOS releases, so a shortcut that worked last year may not today. Skip it and use the screen-recording route — it doesn't depend on any particular action existing.
It saved, but it doesn't move
Check for the Live badge in Photos and press and hold rather than tapping — Live Photos don't play on a single tap. If you set it as a wallpaper and it stays frozen, make sure the Live Photo toggle is enabled in the wallpaper editor and that Low Power Mode is off, since it pauses motion.
My animation is cut off at the edges
Wide GIFs lose their sides on a tall screen. Convert again and crop to a vertical shape in LiveMaker, keeping the subject in the middle band of the frame.
Frequently asked questions
Can I convert a GIF to a Live Photo without an app?
Not with iOS alone. Nothing built into Photos or Files creates a Live Photo from an existing file — iOS only makes them in the Camera app at the moment of capture. You can get part of the way there with a Shortcuts action that turns the GIF into a video, but the video-to-Live-Photo step still needs a converter app.
Why do I have to turn the GIF into a video first?
Because a Live Photo is a still image paired with a real video clip, and converter apps read video files. A GIF is an animated image with no video track, so it has to be re-encoded as a video before it can become the moving half of that pair.
Will the Live Photo loop like the GIF did?
Not by default — a Live Photo plays once while you press and hold. If you want continuous motion, open it in Photos, tap the Live button in the top corner and choose the Loop effect, which repeats the clip.
Is LiveMaker free, and does it upload my files?
LiveMaker is free to download and use, with a small watermark on free exports that a one-time $3.99 LiveMaker Pro purchase removes. Nothing is uploaded — the conversion runs entirely on your iPhone, so it even works in airplane mode.
Turn your clip into a Live Photo
Free, on-device, no upload — trim, pick the key frame, save.
Download LiveMaker — FreeRead next: the full walkthrough of how to make a Live Photo from a video on iPhone, how to set a video as live wallpaper on iPhone, or the reverse trip — how to convert a Live Photo to a video. All our Live Photo guides are in one place.